Visualizzazione post con etichetta Layering stamp set. Mostra tutti i post

mercoledì 12 giugno 2019

"Hello" card with Sunny Studio!

Hi there! 

Today I'm showcasing the Hawaiian Hibiscus set by Sunny Studio grab a cup of iced tea and keep reading! 


This set is amazing!! I have a love/hate relationship with layering sets cause they can be tricky to align and solid images are not super easy for me to stamp, but this set is no truble and all the joy!! 
These flowers are the easiest images to align ever and every layer is amazing, the final effect is so beautiful! 
So if you are a little bit scared I say.. get this set and you'll love it!

Back to my project.. First of all I created my white card base as usual, then I created my background by Sponging Distress inks on to a stripes stencil. You can easily masked the front of the card with some thin stripes of masking paper and ink on top to achieve the same pattern :)


I let it dry and then added some little spatters of dark blue and rose gold watercolors with a fine tip brush.
I stamped my Hibiscus flowers and the leaves using a combo of Lawn Fawn inks and Memento Drops inks. I die cut all the images with their coordinated dies and glued them down with foam adhesive.


Finally I added some sparkle clear sequins and stamped my sentiment.
I'm so happy with this clean and simple card, it makes me dream about beautiful beaches and the lovely time of summer vacations!

Supplies


If you'd like to purchase the items I used to create my project today, everything is listed down below. When possible I used compensated affiliate links which means that if you make a purchase I receive a small commission  (that helps me to bring lots of happy projects to you and run this blog) at no extra cost to you. Thank u so much for all your support :)


Hope you like my card and thank you so much for stopping by today! 

Please enjoy my Cardmaking Adventure on * Instagram*! I'll be posting all my little cards,tags and i also can't wait to see all the projects shared in the community! :)

See you soon with another cute project! :)

Have a lovely day ðŸ™‚
franci 

mercoledì 17 aprile 2019

"Hello" card with Sunny Studio!


Hello there!
Today I'm up on the Sunny Studio blog and I'm super happy to show you my first project with the new amazing summer release!! 

I'll showcase the "Slice of summer" set today with a cool watermelon card.


I love layering sets but what I love the most of them is having solid images I can shade myself playing with inks.
That's what I did here with my watermelon slices, I just use a red ink pad and I stamped the 3a layer multiple times just dabbing the ink away with a clean tablecloth among the bottom of the slice.
That created a natural shaded effect that I love!


I cut all my slices out with the coordinated dies and then I stamped the seeds and all the green parts with the same tecnique, I also die cut the card panel out of white cardstock using the new  Frilly frame and stamped it with the Background Basic stamp set in a light teal ink.
Then I die cut the word Hello from some double sided foam tape and I folied it in gold rose.
I glued everything down with a combo of liquid glue and foam tape and mounted my decorated panel onto a white card base.

Hope you like my card and thank you so much for stopping by today :) 

Please enjoy my Cardmaking Adventure on * Instagram*! I'll be posting all my little cards,tags and i also can't wait to see all the projects shared in the community! :)


See you soon with another cute project! :)

Have a lovely day ðŸ™‚
franci 

mercoledì 27 marzo 2019

"Best Wishes" card with Sunny Studio!

Hello there! 
Today I'm up on the Sunny Studio blog with a classic "Best Wishes" card.


First of all I created my landscape card base out of white cardstock and I cut out a coordinated panel in blue cardstock. 
I inked my blue cardstock with Chipped Sapphire distress ink to darken it up a little bit, I cut out 2 stripes out of it and I let them dry completely.
I stamped the images from the Everything's Rosy set with just 1 ink each using the second generation stamping technique and I cut them out with their coordinated dies.


I added a stripe of irridescent foil on to one of the blue stripes, I also cut out a little stripe of white cardstock and I stamped my sentiment from the Everyday Greetings set.
I also stamped that super cool pattern from the Background Basics set on to the front of my card with a light blue ink and then I assembled all the elements.
I glued down the rose with foam tape and I also added some clear drops.

Hope you like my card and thank you so much for stopping by! 

Please enjoy my Cardmaking Adventure on * Instagram*! I'll be posting all my little cards,tags and i also can't wait to see all the projects shared in the community! :)

See you soon with another cute project! :)

Have a lovely day ðŸ™‚
franci 


mercoledì 3 ottobre 2018

Christmas Trimmings cards with Sunny Studio!

Hi there, today i'm up on the Sunny Studio blog with some fun cards, showcasing the new Christmas Trimmings set!


This set is amazing, all these images are so classic and elegant! 
For my first card I created my card base out of white cardstock, I cut a coordinated panel and I passed it in to my big shot with the Cable Knit Embossing folder.
I stamped and die cut lots of images and i chose the pine branch and the pine cone. 
I die cut a tag from the new set Build a tag 2, I sponged some distress inks to create a night sky and I embossed the sentiment in white.
My sentiment is from the Christmas Chapel set, that came out last year.


I die cut a Fancy Frame oval out of kraft cardstock and i composed my card. 
I glued down the tag with some foam tape to make it pop against the background, I added some gold twine and some red embellishments. 


For my second card I first created my cardbase and I inked it up with Distress inks to create a dark to soft blue background, I also added some white and brown watercolor spatters and let everything dry. 
Then I die cut 2 Fancy frames ovals out of brown cardstock.


I composed my design and glued everything down with foam tape. 
Finally I stamped my sentimtent on the bottom right corner with 2 different brown inks to create an ombrè effect.
Finally I added some red embellishments here too.


Supplies

If u'd like to purchase the items i used to create my project today, everithing is listed down below. When possible i used compensated affiliate links wich means if u make a purchase i receive a small commission  (that helps me to bring lots of happy projects to u and run this blog) at no extra cost to u. Thank u so much for all your support :)


Sunny Studio - Cable Knit Embossing Folder
Shop at:
SS | Scrapbook. com
Sunny Studio - Christmas Trimmings Stamps
Shop at:
SS | Scrapbook. com
Sunny Studio - Christmas Trimmings Dies
Shop at:
SS | Scrapbook. com
Sunny Studio - Build-A-Tag #1 Dies
Shop at:
SS | Scrapbook. com
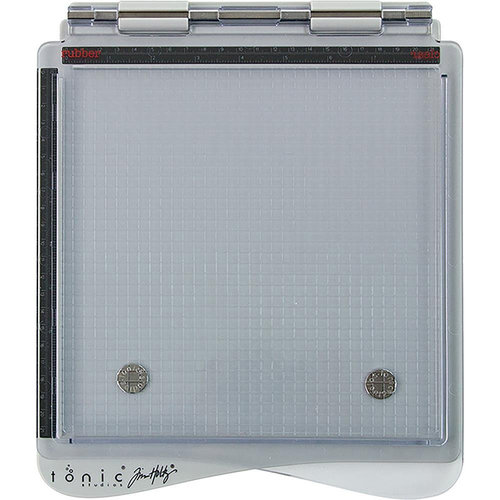
Tonic Studios - Stamp Platform
Shop at:
Scrapbook. com
Lawn Fawn - Stamp Shammy
Shop at:
Scrapbook. com
Sunny Studio - Fancy Frames Oval Dies
Shop at:
SS
My Minds Eye - Kraft Cardstock
Shop at:
Scrapbook. com
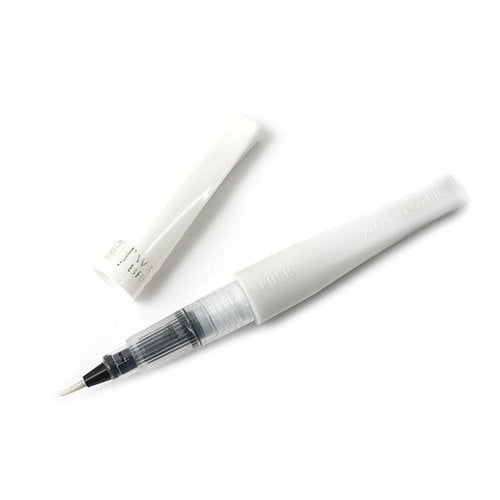
Zig - WInk of Stella Glitter Clear
Shop at:
Scrapbook. com
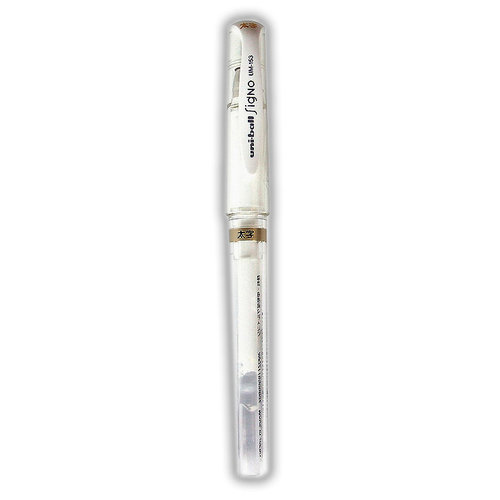
Signo - Uni-Ball White Gel Pen
Shop at:
Scrapbook. com
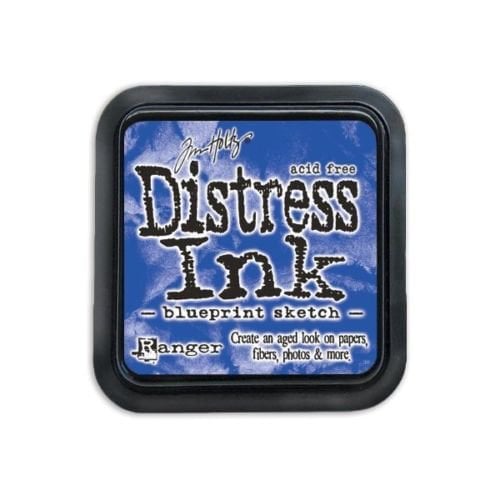
Distress Ink- Blueprint Sketch
Shop at:
Scrapbook. com
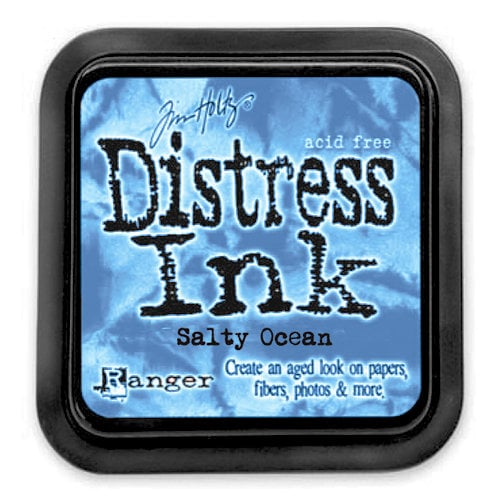
Distress Ink - Salty Ocean
Shop at:
Scrapbook. com
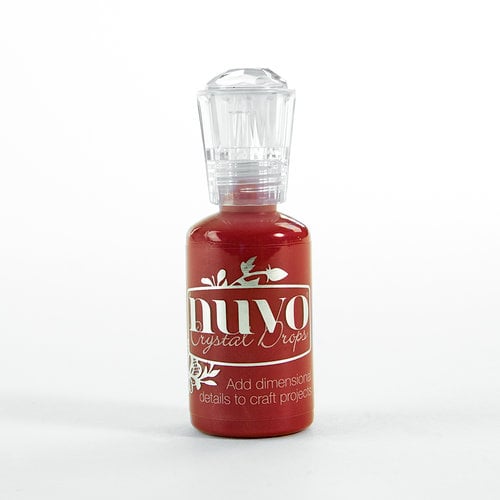
Nuvo Crystal Drops - Autumn Red
Shop at:
Scrapbook. com
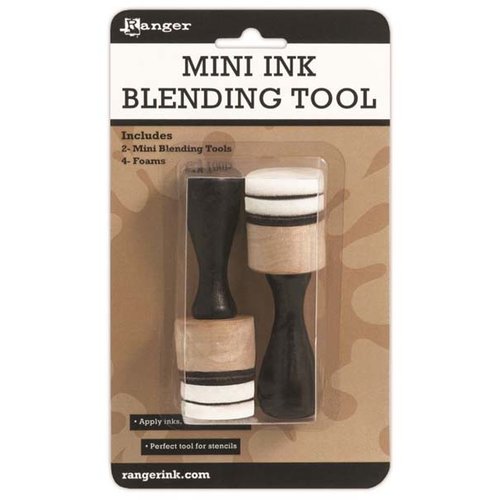
Mini Ink Blending Tool
Shop at:
Scrapbook. com
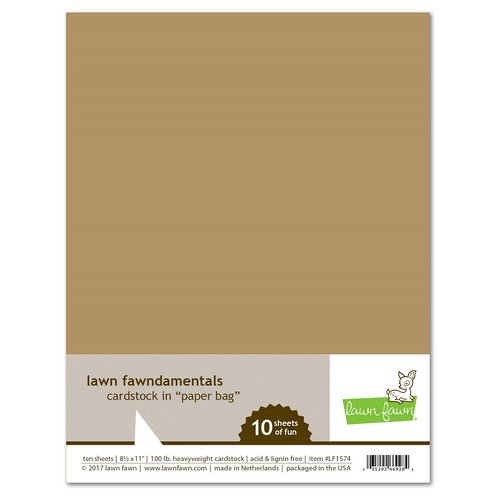
Lawn Fawn - Paper Bag Cardstock
Shop at:
Scrapbook. com


Hope you like my cards and thank you so much for stopping by today!

Please enjoy my Cardmaking Adventure on * Instagram*! I'll be posting all my little cards,tags and i also can't wait to see all the projects shared in the community! :)

See you soon with another cute project! :)
Have an amazing day! 
franci :) 

mercoledì 18 aprile 2018

"Tutti frutti" card for Sunny Studio!


Hello there and happy wednesday!
Today i'm up on the Sunny Studio blog with a sweet card made with the new Berry Bliss layering stamp set, here's it!


I'm so in love with this card! The design is one of my fave to create, the scallop frame is so pretty and these fruits are amazing!!!
Here's a detail..


The scripty Hello is one of my favorite die from the new release, it has such a beautiful font!
Be sure to pop over at Sunny Studio for all the supplies, instructions and details about this card and the new release!

Thank u so much for stopping by :)
Please enjoy my Cardmaking Adventure on * Instagram*! I'll be posting all my little cards,tags and i also can't wait to see all the projects shared in the community! :)

See you soon with another cute project! :)
Have an amazing day! 
franci :) 


mercoledì 7 febbraio 2018

"Celebrate with style" for Sunny Studio!

Hi there!
Today i'm up on the Sunny Studio Blog with a Happy Birthday card! 
Here's what i created.. 


Be sure to stop by at Sunny Studio for more photos, details and all the instructions! 

Thank u so much for stopping by :)
Please enjoy my Cardmaking Adventure on * Instagram*! I'll be posting all my little cards,tags and i also can't wait to see all the projects shared in the community! :)

See you soon with another cute project! :)
Have an amazing day! 
franci :)